
Table of Contents
A Comprehensive Guide to Wall Repair: Patching and Painting Walls for Homeowners
Patching and painting walls is a transformative skill that can breathe new life into any room. Whether you’re addressing minor imperfections or tackling significant damage, learning how to repair and refresh walls can elevate the look and feel of your home. For homeowners and DIY enthusiasts in Susanville, CA, Diamond Handyman Service is here to share a detailed guide that will help you achieve professional results. In this article, we’ll focus on the keyword “wall repair,” providing step-by-step instructions and expert tips for a seamless finish.
Section 1: Assessing and Preparing the Walls
1.1 Inspecting the Wall Surface
Begin by thoroughly inspecting your walls. Look for issues such as nail holes, cracks, dents, or peeling paint. Identifying the extent of damage allows you to plan the necessary wall repair approach effectively. For larger repairs, consider reaching out to Diamond Handyman Service to ensure precision and durability.
1.2 Gathering the Necessary Tools and Materials
Having the right tools on hand is essential for successful wall repair. Assemble the following:
- Spackle or joint compound
- Putty knife
- Sandpaper (various grits)
- Primer
- Paint (matched to your existing wall color)
- Brushes and rollers
- Wall patch kit or drywall for larger repairs
1.3 Cleaning and Prepping the Wall
Clean the surface of your walls by wiping them down with a damp cloth to remove dust, dirt, and grease. This step ensures that spackle and paint adhere properly. If the walls are especially dirty, consider using a mild detergent solution.
Section 2: Patching and Smoothing the Wall
2.1 Patching Small Holes and Cracks
Small imperfections like nail holes or hairline cracks can be fixed easily with spackle:
- Apply spackle using a putty knife, pressing it into the hole or crack.
- Smooth the surface and remove any excess material.
- Allow the spackle to dry fully, following the product’s instructions.
- Once dry, sand the area until it is flush with the surrounding wall.
2.2 Repairing Larger Damages
Larger damages require a more robust wall repair approach:
- For holes larger than a quarter, use a wall patch kit or a piece of drywall cut to size.
- Secure the patch with adhesive or screws.
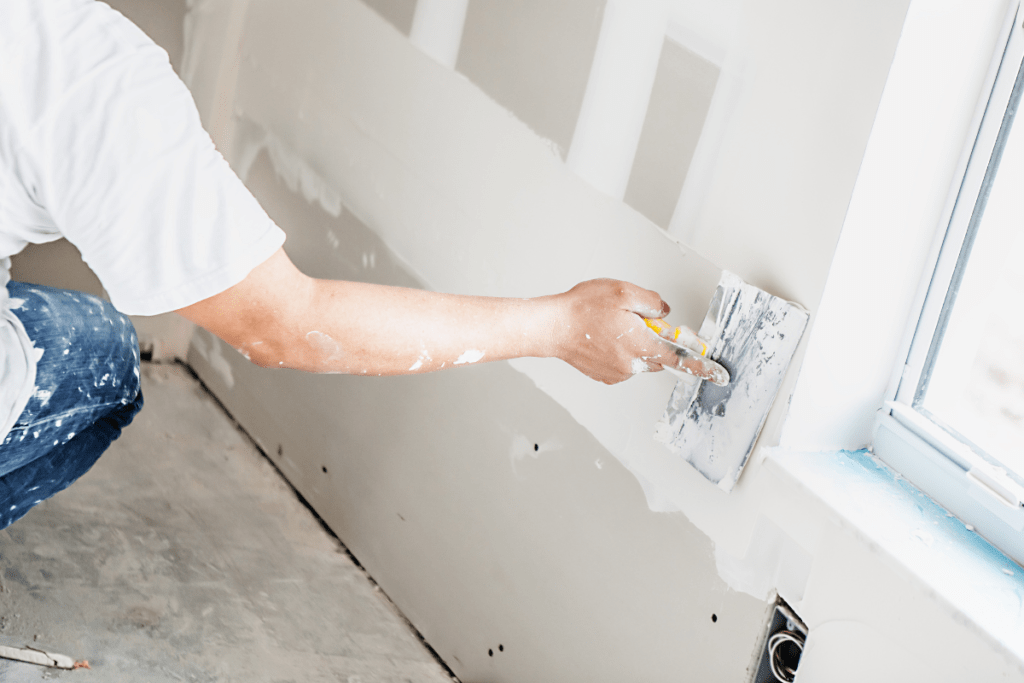
- Apply joint compound over the patch, smoothing it out evenly.
- After drying, sand the patched area to blend it seamlessly with the surrounding wall.
2.3 Feathering and Blending
For a smooth transition, feather the edges of the repaired area:
- Apply a thin layer of joint compound beyond the edges of the patch.
- Gradually taper the compound outward.
- Sand the feathered area lightly until it is undetectable.
Section 3: Priming and Painting
3.1 Applying Primer
Primer is a crucial step in wall repair, as it ensures:
- Proper adhesion of paint
- Even absorption across the surface
- Uniform color appearance
Use a brush or roller to apply primer to the repaired area. Let it dry completely before moving on to painting.
3.2 Choosing the Right Paint
Select a paint that matches your existing wall color and finish. For best results, test the paint on a small area to ensure it blends seamlessly.
3.3 Painting the Wall
- Using a brush or roller, apply a thin coat of paint to the repaired area, overlapping slightly onto the surrounding wall.
- Allow the first coat to dry fully before applying additional coats.
- Continue applying thin layers until the repaired area is completely covered and matches the rest of the wall.
3.4 Blending Techniques
Feathering the edges of the paint ensures a flawless finish:
- Lightly brush or roll the paint beyond the repaired area.
- Blend the paint into the surrounding wall to eliminate visible lines.
Expert Tips for Perfect Wall Repair
- Use Quality Materials: High-quality spackle, primer, and paint yield better results and ensure durability.
- Sand with Care: Avoid over-sanding, which can create uneven surfaces. Use fine-grit sandpaper for a smooth finish.
- Work in Good Lighting: Proper lighting helps identify imperfections and ensures even application of spackle and paint.
- Practice Patience: Allow each layer of spackle, primer, and paint to dry fully before moving to the next step.
When to Call a Professional
While many wall repair tasks can be completed with DIY methods, certain situations may require professional expertise. For instance:
- Extensive wall damage
- Structural issues
- Time constraints
Diamond Handyman Service in Susanville, CA, specializes in wall repair and other handyman services, ensuring your home projects are completed efficiently and to the highest standard.
The Transformative Power of Wall Repair
Mastering wall repair is a valuable skill for any homeowner. By following the steps outlined in this guide, you can confidently tackle wall imperfections and enhance your home’s aesthetic. Whether you’re addressing minor blemishes or undertaking a major repair, the result will be walls that look polished and new.
For those in Susanville, CA, who prefer expert assistance, Diamond Handyman Service is here to help. Contact us today for professional wall repair services and more.