Handyman’s Guide to Installing a Ceiling Fan
Table of Contents
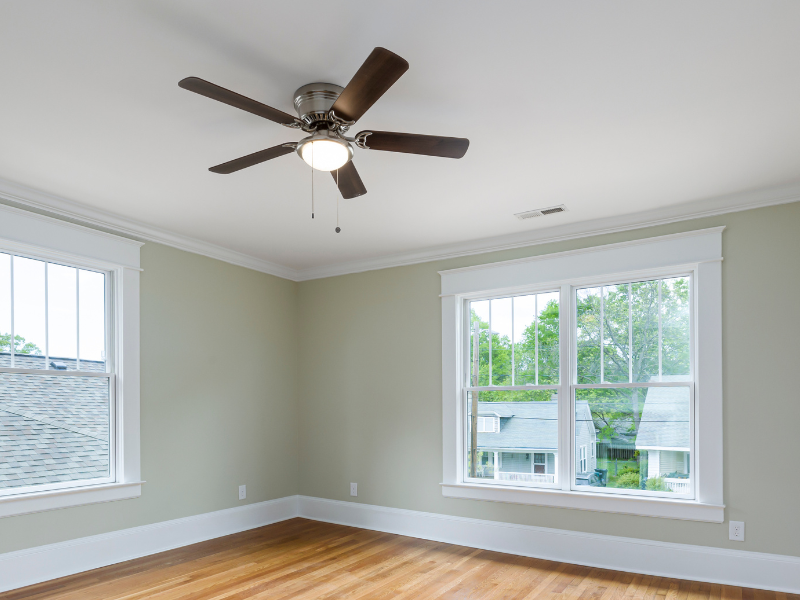
Ceiling fans have long been revered for their ability to add comfort and energy efficiency to homes. Effectively circulating air and creating a pleasant breeze can make your living spaces more enjoyable, especially during the warmer months. While installing a ceiling fan might initially seem complex, it can be a manageable DIY project with the right tools, materials, and guidance. In this comprehensive guide, we’ll walk you through new ceiling fan installation, ensuring that your home benefits from improved airflow and reduced energy consumption.
9 Steps to Ceiling Fan Installation
Ceiling Fan Installation Guide
Step 1: Gather The Materials and Tools
Before embarking on your fan installation journey, ensure you have all the necessary tools and materials. A screwdriver, pliers, wire cutters, wire nuts, electrical tape, and a secure ladder for elevated access are among these. These readily available tools will streamline the installation process and help prevent unnecessary interruptions.
Step 2: Turn The Power Off
Before engaging in any electrical work, turning off the power to the room where the installation will occur is imperative. Locate your electrical panel and diligently switch off the circuit breaker responsible for the specific room in focus. This precautionary measure ensures your safety as you work with electrical connections.
Step 3: Remove the Old Light Fixture
If there’s an existing light fixture in the designated installation spot, it must be removed. Ensure the power is switched off to the fixture box and proceed to detach the fixture from the ceiling. This step clears the way for your new ceiling fan and ensures a smooth transition.
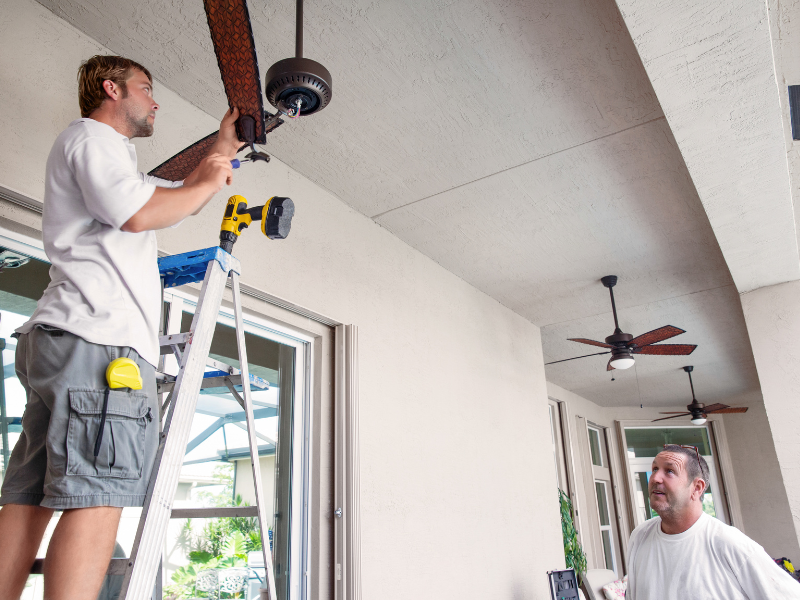
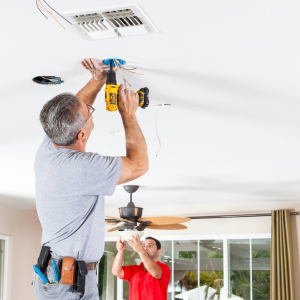
Step 4: Install the Ceiling Fan Mounting Bracket
The fundamental support structure for your ceiling fan is the mounting bracket. Follow the detailed instructions provided with your fan kit to install the mounting bracket adeptly. In most instances, this involves securely affixing the bracket to the ceiling joist using the accompanying screws. This step sets the foundation for a secure and stable fan installation.
Step 5: Attach the Fan Motor to the Mounting Bracket
Once the mounting bracket is firmly in place, attach the fan motor. Adhere closely to the guidelines furnished in your fan kit to complete this step seamlessly. Typically, this entails securely employing screws to affix the motor to the bracket. Ensuring a robust motor attachment guarantees smooth operation.
Step 6: Connect the Wiring
The subsequent task involves skillfully connecting the wiring for the ceiling fan. Rely on the instructions outlined in your fan kit to navigate this process. You’ll be required to link the fan motor wires to the ceiling wires using wire nuts and electrical tape, assiduously ensuring that the wire colors align appropriately. This meticulous wiring connection guarantees the fan’s safe and effective operation.
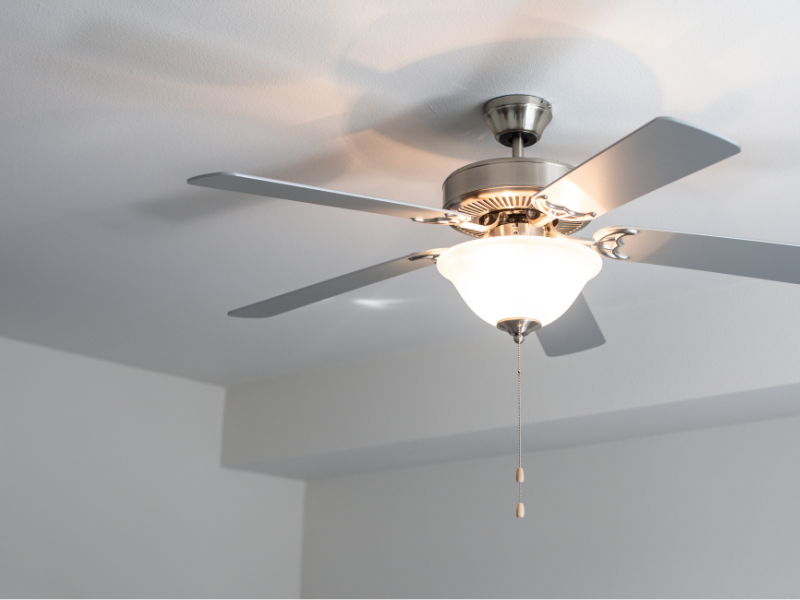
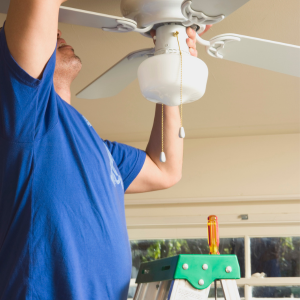
Step 7: Attach the Fan Blades and Light Fixture
You can now attach the fan blades and light fixture with the wiring intricacies resolved. Follow the comprehensive directives in your fan kit to effectively complete this stage. Conventionally, using screws is integral to affixing both the blades and light fixture to the fan motor. This step adds both functionality and aesthetics to your installation.
Step 8: Test the Fan
Before re-energizing the power supply:
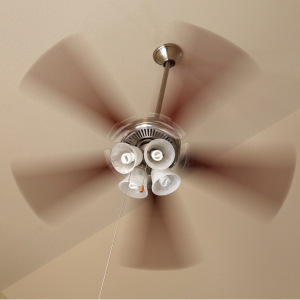
Thoroughly test the ceiling fan to ascertain its optimal functionality. Reinstate the power and engage the fan’s pull chain to validate its operational status. Ensure the fan blades are rotating in the correct direction to optimize airflow. Conducting a thorough test ensures that your newly installed ceiling fan operates flawlessly and enhances the desired comfort and airflow.
Step 9: Finish Up
If all systems function seamlessly, it’s time to finalize the installation. Attach the fan’s canopy to the ceiling bracket and use the provided screws to secure it definitively. Lastly, affix the light bulbs to the light fixture and restore the power supply to the room. This finishing touch completes the installation process, leaving you with a fully functional and aesthetically pleasing ceiling fan.
Incorporating a fan into your living space is an exemplary DIY undertaking that reaps manifold rewards for comfort and energy efficiency. Armed with the appropriate tools and leveraging your newfound knowledge, you can successfully usher a new ceiling fan into operation.
In conclusion, the installation process for a ceiling fan involves meticulous preparation, diligent attention to safety protocols, and meticulous execution. As you undertake each step, always refer to the guidance provided in your fan kit, and prioritize the deactivation of power before embarking on any electrical tasks. Should you seek professional assistance or repairs for your ceiling fan, do not hesitate to contact Diamond Handyman Service at 530-250-5382 or explore the comprehensive range of home repair services available in Susanville, CA. Installing a ceiling fan properly ensures that you reap its benefits for years to come, enjoying enhanced home comfort and energy savings.
FAQs
Is DIY fan installation suitable for beginners?
Ceiling fan installation can be tackled by beginners with a willingness to learn and a moderate level of comfort with basic tools and tasks. It’s important to have a clear understanding of electrical safety and a willingness to carefully follow installation instructions. While it’s achievable for beginners, if you’re uncertain about electrical work or lack confidence in your DIY skills, it’s advisable to enlist the help of a professional electrician or handyman. They can ensure not only a safe installation but also proper alignment and wiring connection for optimal fan performance.
What tools do I need for ceiling fan installation?
Successful DIY ceiling fan installation requires a set of essential tools to ensure a smooth process. You’ll need tools such as a Phillips-head screwdriver, pliers, wire cutters, wire nuts, electrical tape, a voltage tester, and a sturdy ladder. These tools enable you to secure the fan bracket, connect wires, and assemble fan components effectively. Having the right tools at your disposal will not only make the installation process more efficient but also contribute to the overall safety and quality of the installation.
How long does it typically take to install a ceiling fan?
The time required for DIY installation can vary based on factors such as your familiarity with electrical work, your comfort level with tools, and the specific features of the fan you’re installing. On average, a straightforward installation might take around 1 to 2 hours. This includes tasks such as mounting the bracket, connecting wiring, attaching the fan motor, and testing its functionality. However, it’s important to prioritize accuracy and safety over speed. Taking your time to understand the instructions and ensuring each step is done correctly will contribute to a successful installation.
Do I need an electrician to install ceiling fan?
While it is possible to install a ceiling fan yourself, the question of whether you need an electrician depends on your comfort level with electrical work and the specific requirements of the installation. Here are some factors to consider:
DIY Installation: If you have experience with basic electrical tasks, feel comfortable working with wires, and have successfully completed DIY projects in the past, you might be able to install a ceiling fan on your own. Many ceiling fan kits come with detailed instructions to guide you through the installation process. However, keep in mind that working with electricity requires a high level of caution and adherence to safety protocols.
When to Consider Hiring an Electrician:
- Lack of Electrical Knowledge: If you have limited or no experience with electrical work, it’s advisable to hire a licensed electrician. They have the expertise to handle electrical connections safely and efficiently.
- Complex Wiring: If the wiring in your home is complex or if you’re unsure about identifying and connecting wires, an electrician can ensure proper connections and avoid potential hazards.
- Safety Concerns: Electrical work involves inherent risks. If you’re concerned about your safety or the safety of your home, hiring a professional is a wise decision.
- Existing Wiring Issues: If your home’s wiring isn’t up to code or requires updates, an electrician can address these issues while installing the ceiling fan.
- Structural Considerations: Some installations require additional support or modifications to the ceiling structure. An electrician can ensure the fan is securely mounted and balanced.
- Warranty and Insurance: Incorrect installation could void the fan’s warranty or result in damage. An electrician’s work is often covered by insurance, providing peace of mind.
- Time and Convenience: If you’re short on time or prefer to have the installation done quickly and efficiently, hiring a professional can save you time and effort.
While DIY installation is possible, electrical work should never be taken lightly. Hiring an electrician or handyman ensures that the installation is done correctly, adheres to safety standards, and minimizes the risk of electrical hazards. If you’re unsure about any aspect of the installation process or your electrical knowledge, consulting with a licensed electrician is the recommended approach.
How do I know if my electrical box can hold a ceiling fan?
Ensuring that your electrical box can safely support a ceiling fan is essential for a secure and stable installation. Here’s how you can determine if your electrical box is suitable for a ceiling fan:
1. Check the Weight Rating: Most importantly, your electrical box needs to be rated to support the weight of a ceiling fan. Ceiling fans are heavier than light fixtures, and the box should be specifically designed to handle the fan’s weight. Look for a label or stamp on the box that indicates its weight rating. If the box is not labeled or you’re unsure, it’s best to err on the side of caution and replace the box with one rated for ceiling fan installation.
2. Inspect the Mounting Bracket: Many ceiling fans come with a mounting bracket that attaches to the electrical box. If you’re using a mounting bracket, ensure that it is designed for ceiling fan installation and can be securely fastened to the box.
3. Consider the Box Type: There are two main types of electrical boxes used for ceiling fans: fan-rated boxes and retrofit boxes. Fan-rated boxes are designed with the necessary support and are suitable for new installations. Retrofit boxes are designed to replace existing boxes and can be used if your current box is not fan-rated. Retrofit boxes often have adjustable brackets that can be secured to the ceiling joists.
4. Check for Adequate Support: If your electrical box is mounted to a ceiling joist, this provides excellent support for a ceiling fan. However, if the box is mounted to a ceiling truss or other structural component, you need to ensure that it’s designed to handle the additional weight and movement of a fan. In some cases, additional support might be necessary.
5. Consult a Professional: If you’re uncertain about your electrical box’s suitability for a ceiling fan or if you’re not comfortable assessing it yourself, it’s a good idea to consult a licensed electrician. They can inspect your electrical box, assess the structural integrity, and recommend any necessary upgrades or replacements.
6. Safety First: Remember that the safety of your installation is paramount. Using an electrical box that is not designed to support a ceiling fan can lead to instability, vibrations, and even potential hazards. It’s always better to be cautious and ensure that the electrical box meets the requirements for ceiling fan installation.
In summary, before installing a ceiling fan, thoroughly inspect your electrical box for its weight rating, type, and compatibility with the fan’s mounting bracket. If you’re uncertain, consult a professional electrician to ensure a safe and secure installation.
Is it worth it to install a ceiling fan?
Installing a ceiling fan can offer numerous benefits that make it worth considering for both comfort and energy efficiency. However, whether it’s worth it depends on your specific needs, preferences, and the context of your home. Here are some factors to consider:
1. Comfort and Air Circulation: Ceiling fans are known for their ability to circulate air, creating a gentle breeze that can make your living spaces more comfortable, especially during warmer months. They can help distribute cool air from your air conditioning system or create a breeze that makes you feel cooler, allowing you to potentially adjust your thermostat and save on energy costs.
2. Energy Efficiency: Ceiling fans are generally more energy-efficient than air conditioning systems. By using a ceiling fan to create air movement and distributing cool air, you may be able to reduce your reliance on your AC and save on energy bills.
3. Year-Round Use: Ceiling fans can be beneficial throughout the year. In the summer, they can help cool your home, and in the winter, many ceiling fans have a reverse mode that circulates warm air that rises to the ceiling back down to the living area, improving heating efficiency.
4. Aesthetic Enhancement: Ceiling fans come in a variety of styles and designs, allowing you to choose one that complements your home’s décor. They can add a decorative element to your rooms while serving a functional purpose.
5. Noise Level: Modern ceiling fans are designed to operate quietly, providing comfort without disturbing your peace and quiet.
6. Return on Investment (ROI): If you’re concerned about the cost of installation, consider the potential ROI. Over time, the energy savings from using ceiling fans instead of air conditioning can offset the initial installation costs.
7. Considerations for Rooms: In larger rooms or spaces with high ceilings, ceiling fans can be particularly beneficial for achieving even air circulation and temperature distribution.
8. Personal Preference: Ultimately, your comfort and preference play a significant role. If you enjoy the gentle breeze and added comfort a ceiling fan provides, it may be worth it for you.
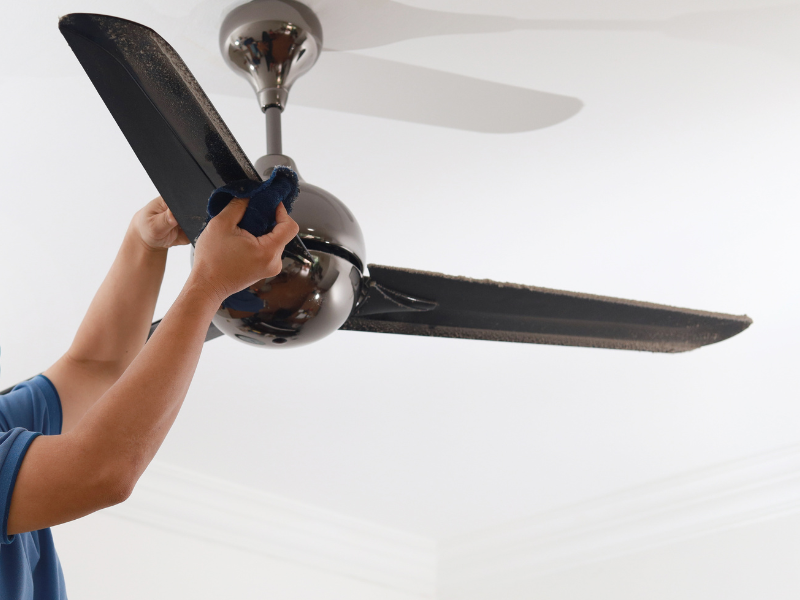
9. Installation and Maintenance: While some homeowners are comfortable with DIY installation, others may prefer to hire a professional. Additionally, regular maintenance, such as cleaning fan blades and ensuring proper operation, is necessary to fully enjoy the benefits of a ceiling fan.
In conclusion, installing a ceiling fan can be worth it for the comfort, energy efficiency, and aesthetic enhancement it offers. Consider factors such as your climate, energy costs, room size, and personal preferences when making your decision. Consulting with a professional and weighing the long-term benefits can help you determine if installing a ceiling fan aligns with your goals for your home.
Can I install a ceiling fan in any room?
Ceiling fans are versatile additions that can be installed in various indoor spaces, including bedrooms, living rooms, dining areas, and even covered outdoor patios. However, there are considerations to keep in mind. Rooms with low ceilings might require flush-mount or low-profile fan options to ensure adequate clearance. Additionally, for rooms without an existing ceiling fan fixture, you’ll need to ensure proper structural support for the fan’s weight. Always refer to manufacturer guidelines and local building codes to ensure a safe and compliant installation.
Links
Home Depot Fans
Lowe’s Ladders
https://www.lowes.com/pl/Step-ladders-Ladders-scaffolding-Tools/3574040724
Ace Hardware Fans
https://www.acehardware.com/departments/lighting-and-electrical/ceiling-fans-and-parts/ceiling-fans
Lowe’s Fans
https://www.lowes.com/c/Ceiling-fans-Lighting-ceiling-fans
Lowe’s Mounting Brackets
Ace Hardware Fan Accessories
If you would like to have your ceiling fan professionally installed click here!